Runes have been used for centuries, both as a way of writing and as a means of divination. If you feel a resonance with the Germanic and Scandinavian elders, you may be interested in learning more about runes and how to work with them. Making your own set of Runes is a good way to learn about each symbol.
Materials for Runes
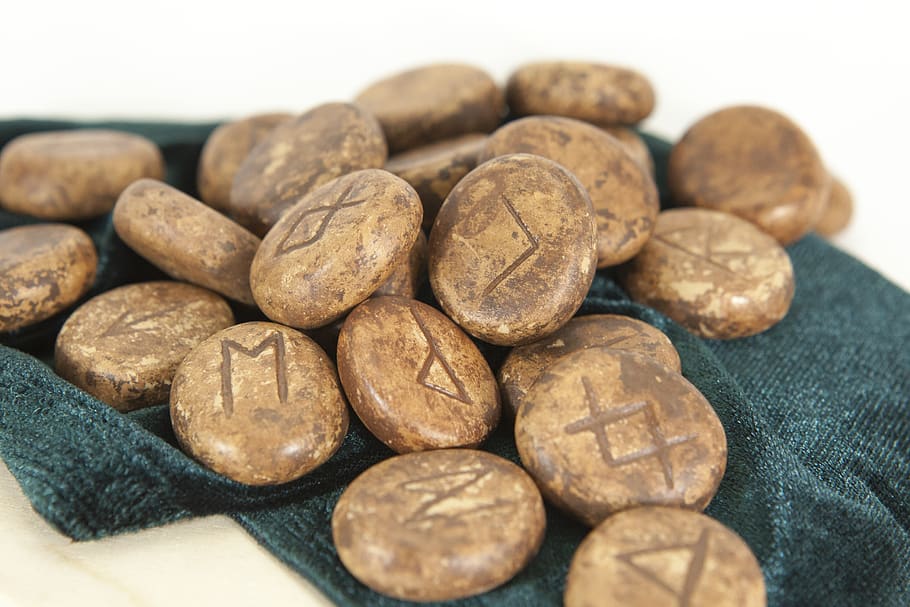
There are many different materials that commercially available rune sets are made from. The more common materials are wood, stone or bone. Rune sets made from semi-precious stones such as hematite or quartz often look beautiful. However, for practical use, these have one disadvantage.
When using runes for divination, each rune tile should be of a very similar size and shape. Rune sets made from semi-precious stones are usually irregular shapes and sizes. When pulling the rune tiles from your bag, you could subconsciously be feeling for a specific tile if they are all different shapes. For a better result in casting runes, you should aim to have tiles as similar as possible to each other.
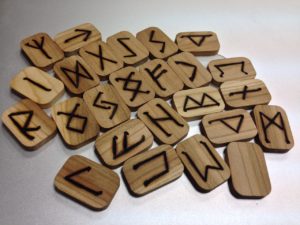
Wood makes an excellent medium to fashion rune tiles from. It is not necessary to cut a living branch from a tree. Simply search on the ground for a branch approximately 1 inch (2-3 cm) in diameter and long enough to cut up to 30 equal-width slices from. Remember to leave a thank you to the tree the branch came from.
Cutting the Tile Pieces
You will need a hand saw to cut your branch into discs. It is up to you whether you strip off the bark, or leave it intact. Cherry or Birch bark is very smooth and makes a good aesthetic edge to the rune tiles.
 Depending on how old the branch you chose is, you may want to leave your discs to try out a little, or season, before embellishing them with the runes. Greenwood, that is wood that is fresh from the tree, may still ooze sap or resin which can make working the wood difficult and sticky. Once the discs are dry, you may want to use some fine grade glass paper to take the saw marks from the flat faces of each disc.
Embellishing Runes
To embellish the tiles each with a rune will require a permanent mark. You can draw or paint the rune symbols onto the wooden discs with ink or paint, one symbol on each. Alternatively, you can use a soldering iron to scorch the rune into the surface of the wood. If you have a steady hand and a suitable chisel, you could carve the rune into the wood and then fill the indentation with paint or ink. People have been known to use their own blood to mark their runes.
Polish the Runes
Once the ink or paint is dry, it is a good idea to apply a layer of wax, polish or varnish, to protect the rune tiles. Bee’s wax is preferable, to allow the wood to maintain its natural moisture levels. It is also a good idea to buy or make a small bag or box to keep your runes in when they are not in use.
Making runes is a very personal experience. Your own energy is passed into your set of runes as you create them. Other people should not touch your runes unless they are invited; this preserves your energy imprint on them.
https://www.youtube.com/watch?v=BuXA4ubzxGY


